You may be wondering if you read the title of this blog correctly, but your eyes do not deceive you – it is possible to wash historic prints! Washing seems like a counterintuitive thing to do to a precious historic artwork, but done correctly it can help preserve the work as well as improving its appearance.
I recently washed one of the Ferrar Prints as part of my conservation internship in the Pepys Library. This blog explains why and how I did it.
Why wash a print?
As paper ages, chemical reactions take place within it that cause it to degrade and become more fragile. These chemical reactions produce acidic by-products that remain in the paper and help produce more of the same reactions, creating an ever-faster process of degradation. The process is affected by the quality of the paper and the conditions in which it is stored. I’m sure you have seen old papers that have become yellow over time. This yellowing is produced by the same acidic by-products. So the ageing process causes both structural and aesthetic problems that affect our ability to enjoy the artwork.
However, the good news is that the acidic by-products in the paper dissolve in water, so if water is carefully introduced to the paper it can dissolve the by-products and remove them, strengthening the structure of the paper, improving its appearance and slowing down the process of decay. Not every artwork can cope with being washed. Some are too fragile, while others may have inks, paint or other media that would be damaged or removed if they came into contact with water.
In conservation we follow a principle of minimal intervention on the historic objects with which we work. In other words, we do not carry out any treatment unless we judge it to be essential or highly desirable for the future stability of the object. Only a small number of the Ferrar prints were sufficiently degraded and yellowed to justify a washing treatment. One of these is described below.
How do you wash a print?
There are various techniques for washing art on paper. The method I used for this particular print is called a blotter wash. Specialist blotting paper is used to draw out acidic by-products from the artwork. It is a gentle and controlled technique so it is very safe, as well as producing good results.
Step 1: Humidification
If a paper is wetted too quickly it can cause stains or physical damage. To avoid this, I gently humidified the print before wetting it fully (Fig. 1). I lightly sprayed the print with a fine mist of deionised water and covered it with polythene for a couple of minutes to allow the fine droplets to spread evenly through the paper. Throughout this process and the subsequent washing the print was protected on both sides by sheets of a protective paper called Bondina.

Fig 1 – Humidification
Step 2: Washing
The next step was to place the humidified print on top of two damp blotters. I then sprayed the print with more deionised water so that it was wetter than the blotters (Fig. 2). Having a higher concentration of water in the print than in the blotters helps it to transfer from one to the other because water molecules move from areas of high concentration to areas of low concentration. When they move they take some of the acidic by-products with them out of print.

Fig 2 – Object on top of damp blotters in preparation for washing
I placed two further blotters on top of the print; covered everything in polythene to stop the water evaporating; and then placed a sheet of glass on top to ensure an even contact between the print and the blotters (Fig. 3). I then left the print to wash for around three hours, occasionally adding more water to stop the print from drying out.
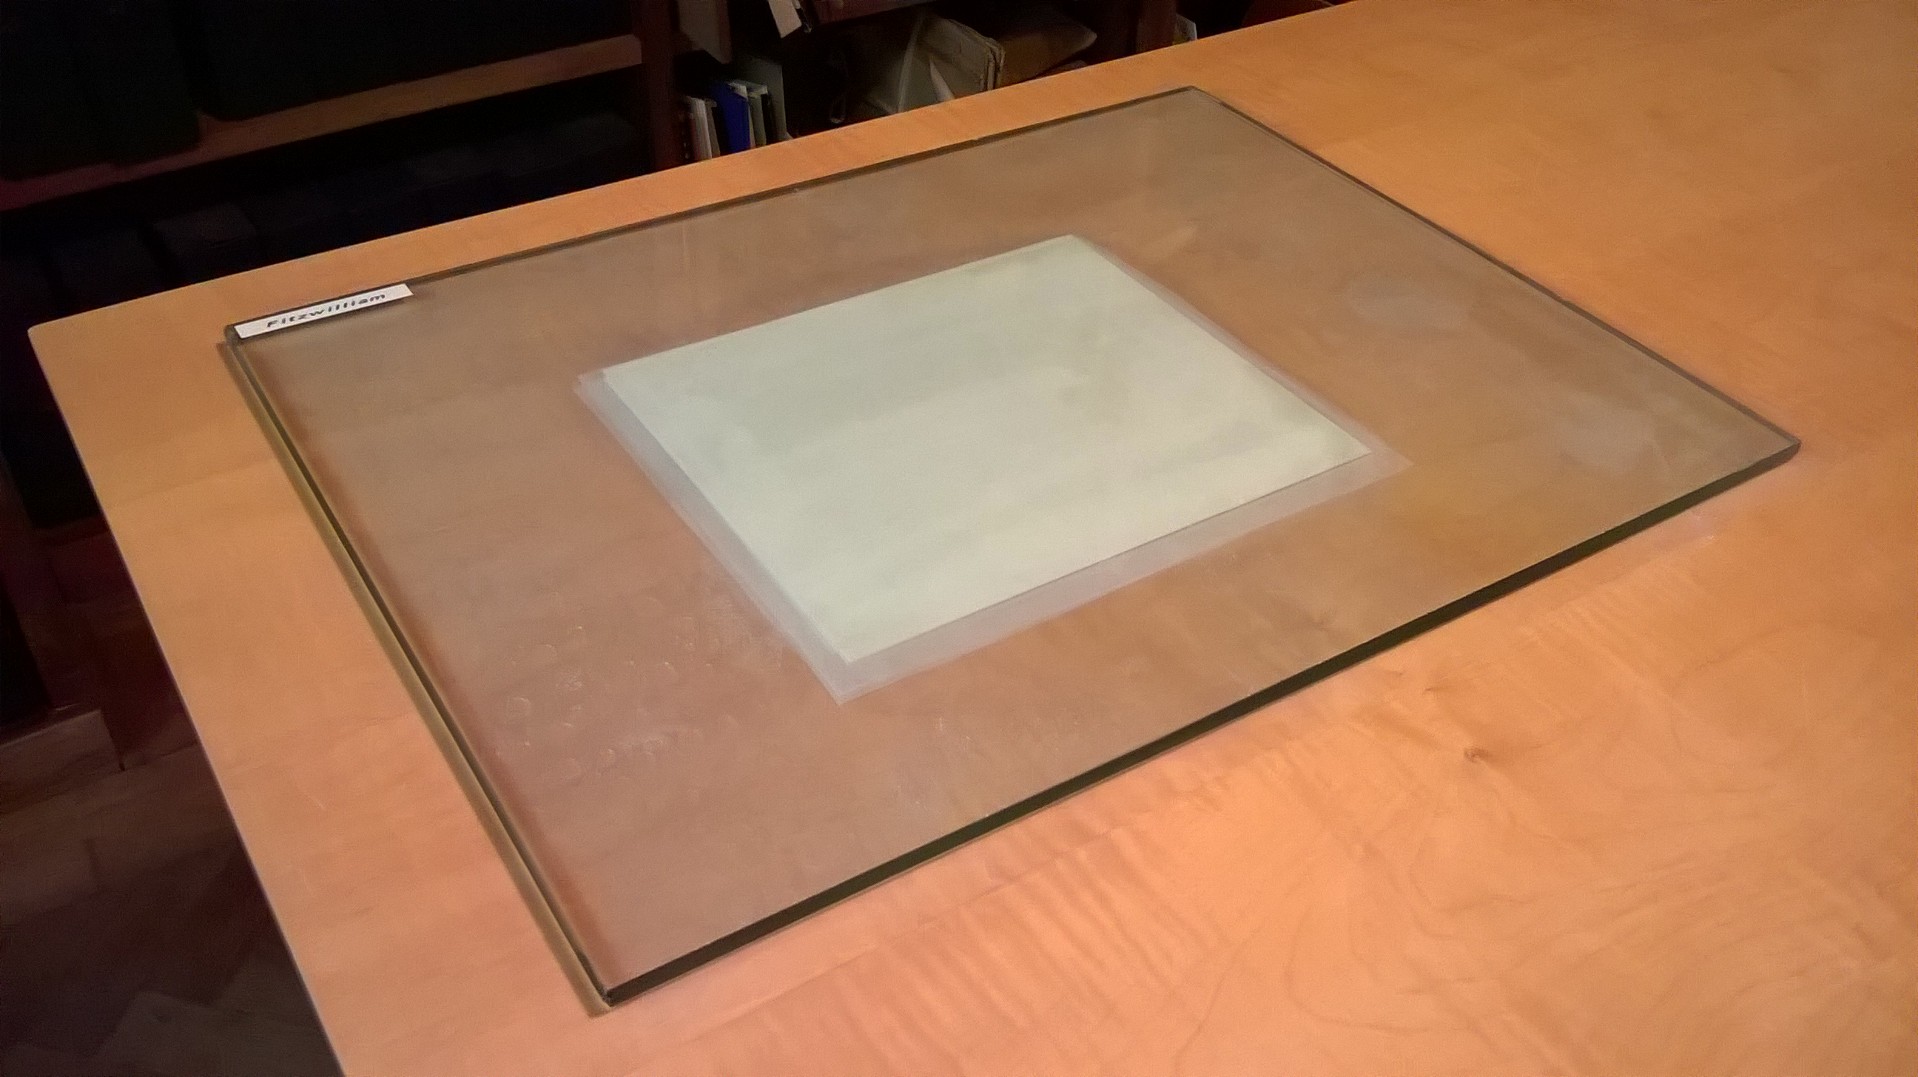
Fig 3 – Object during washing
Step 3: Drying
After washing for three hours a lot of dirt and yellow degradation could be seen on the blotters, demonstrating that the process had been successful. At this point I removed the print, placed it between some new dry blotters and pressed it under light weights to dry it out (Fig. 4).

Fig 4 – Object during pressing
I left it like this for about one week to ensure it was fully dry. The end result was a cleaner print that will be more stable in the future as a result of its treatment.
by Thomas Bower
Ferrar Print Conservation Intern 2015
